Bottles and glass
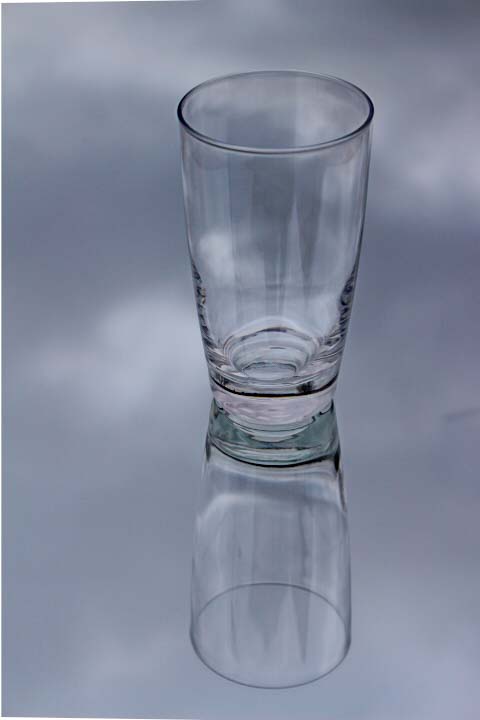
I was running out of ideas on what I should do for photos (the last shots I had to complete were of cups and bottles) and suddenly I had a great idea. I took the mirror off of my bathroom, put it in my backyard, put the cup on the mirror and took a picture. The cup looks like it is floating on the stillest water known to man! I made sure to raise the exposure, and captured the photo with a shallow depth of field (although it wasn't necessary).
Camera Simulator 2017
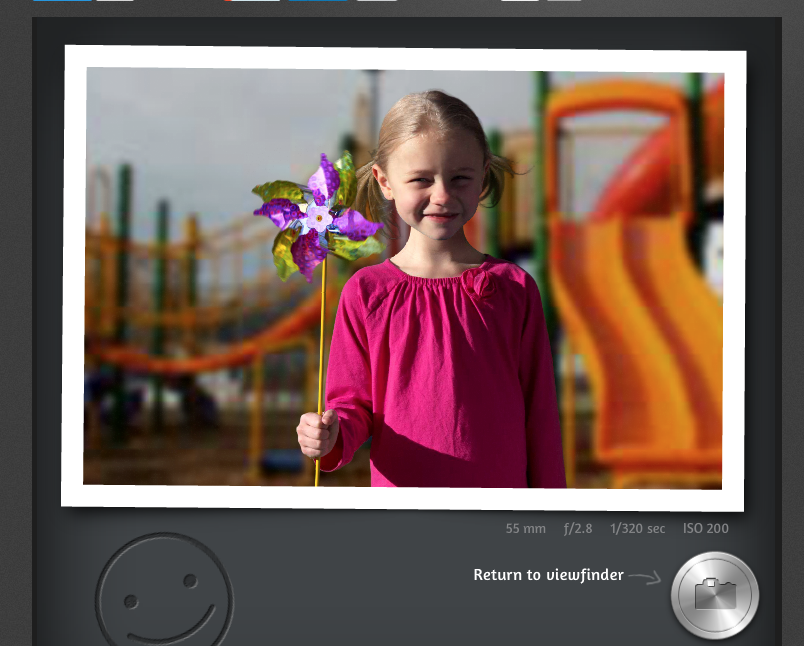
shallow depth of field was in mind, as well as relatively fast shutter speed. Camera was set on Aperture Priority |
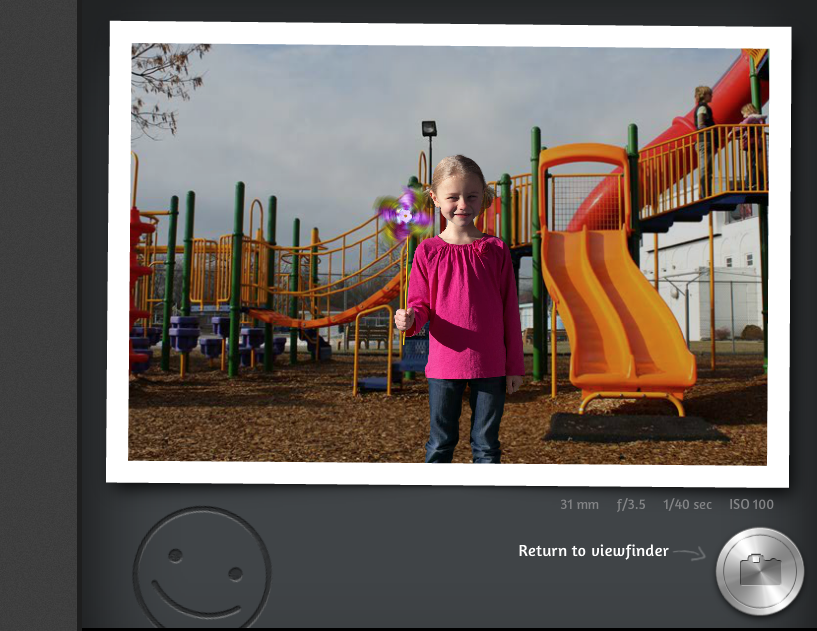
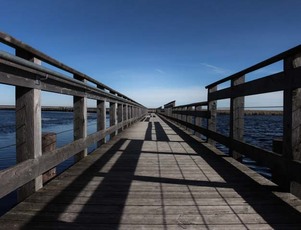
wide depth of field, you can see the entire landscape clearly. Camera set to Aperture priority |
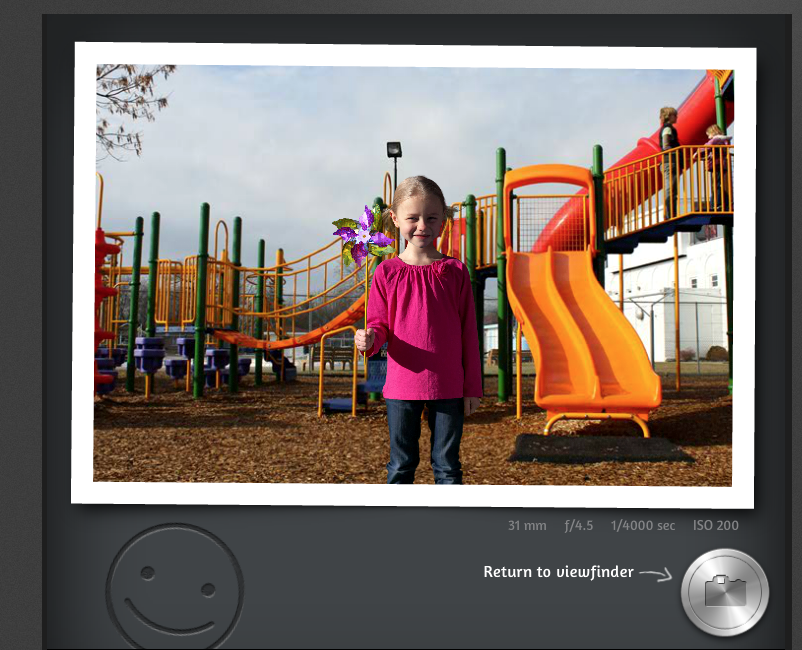
fastest shutter speed in mind, without getting a bad shot. Camera set to Shutter Priority. Also shot was taken far away from subject |
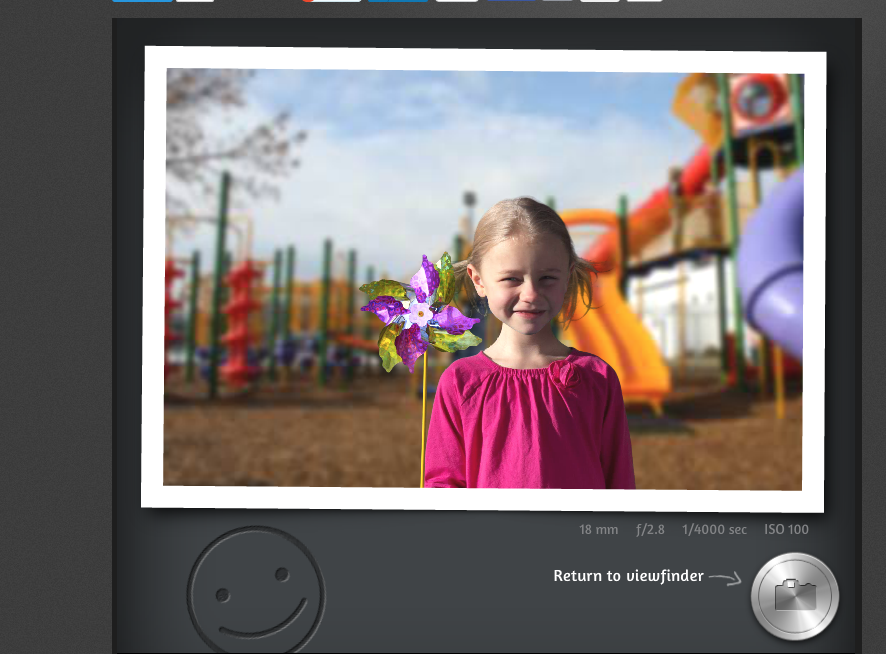
Shutter speed was as fast as possible without making the shot look bad. Small focal length and closer shot in mind. Camera set to shutter priority |
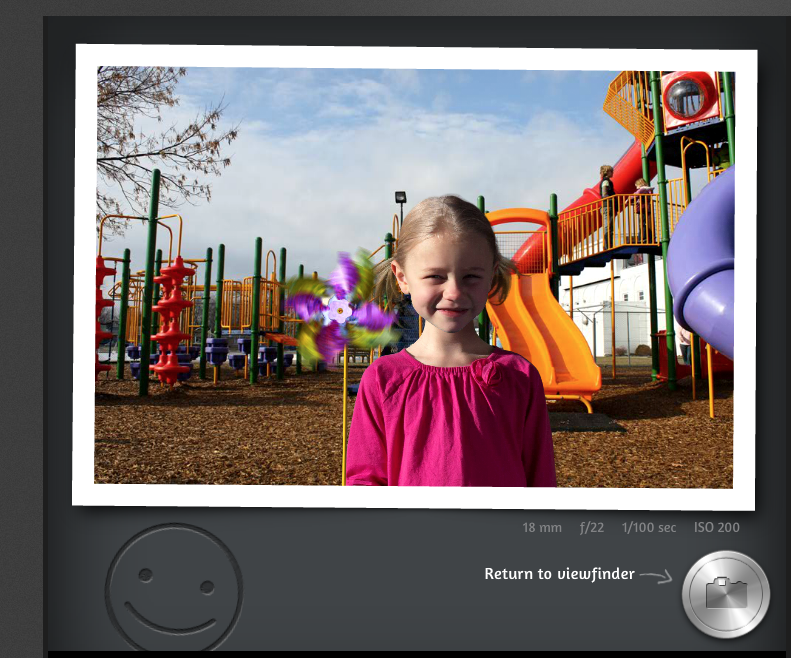
Small focal length, and aperture in mind. Shot was going for capturing the subject as well as the background. Not necessarily a bad shot, but not one that most people go for. |
Patterns in Point Pelee
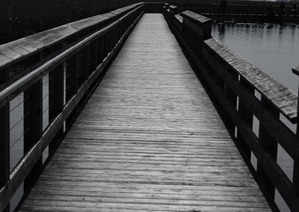
made this picture appear more grim by reducing saturation. Also, I lowered exposure, raised highlights, and overall created a higher contrast from dark to light. |
darkened the outside and brightened the middle to create focus. Cropped picture to create centre point. Also decreased saturation and clarity |
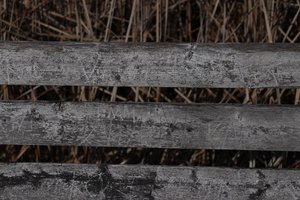
These patterns have a bit less lines and more pattern. I tried to capture the texture of wood as much as possible, and let the photo speak for itself by not editing it too much. |
I found many great patterns when I had a stroll in point pelee. My favorite patterns were of the boardwalk, I really liked the symmetry (and some asymmetry) of the positioning of wood.
detail portrait
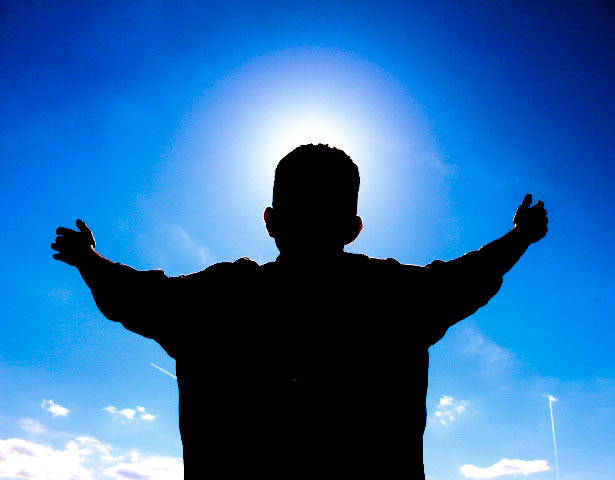
When I took this photo I wanted to capture a dark silhouette on the subject, and a bright background to enhance the suns power in the photo. The original photo was not quite dark enough so I decided to enhance the shadows, darken the exposure, enhance the contrast, bring up the highlights to enhance the sun further, and create as much of a contrast between the subject and the sun as possible to create a silhouette effect. |
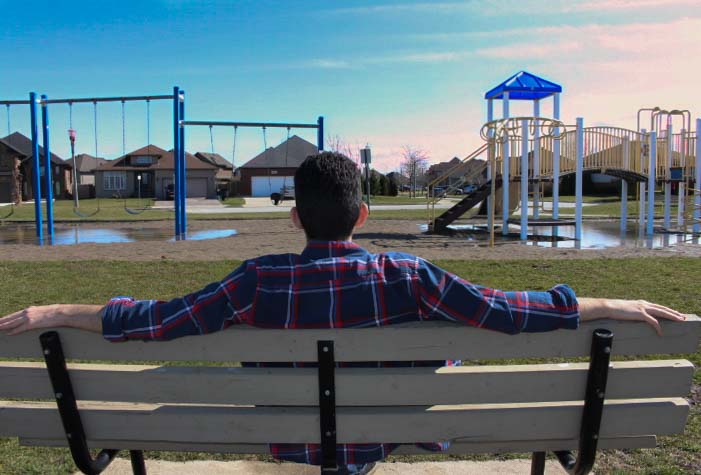
The sky in this original photo was cloudy and sucked, and the exposure was very high. To edit this photo I lowered the exposure, raised the saturation and the contrast. Then, I selected just the sky and edited the color to make the sky look like a nice sunset. |
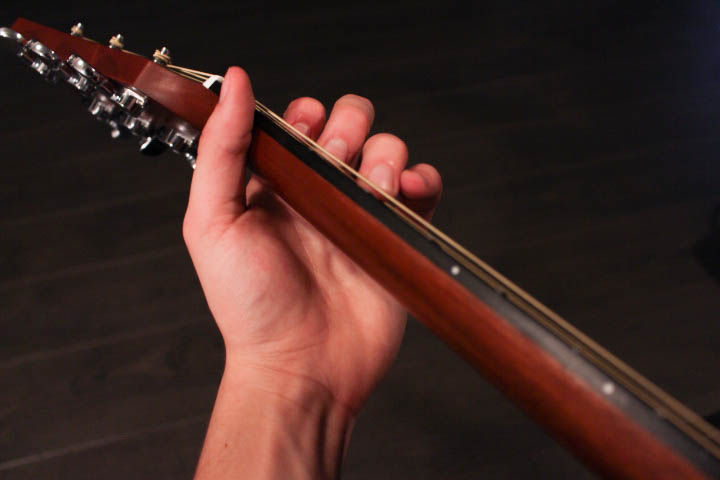
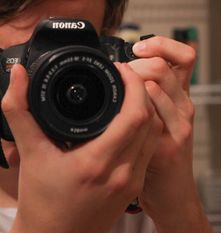
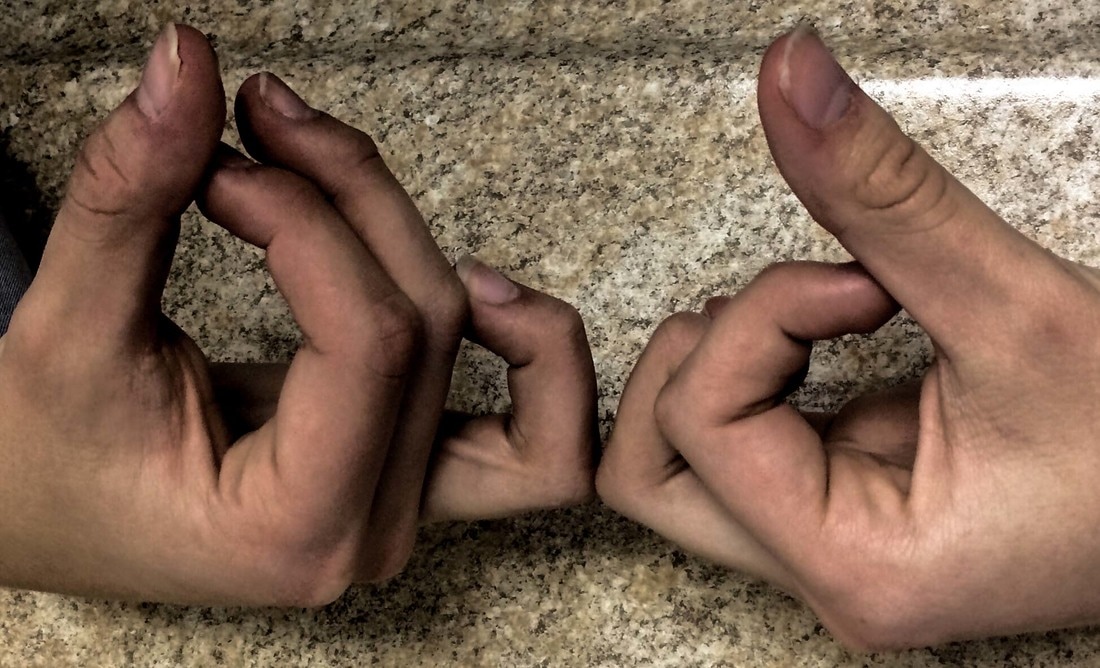
hands
|
|
|
Hands do a lot of stuff. Especially mine. So I thought I could capture my own (hopefully I don't sound too much like a narcissist). I like to play guitar, so I captured my one hand holding a chord. I also captured my hands while taking a photo since it's kinda like a selfie but you don't see my face, just how my hands are positioned for taking the shot. Last but not least, who doesn't love a good old gang sign. You can thank my dad for teaching me that.
Letters